
While surfing the net for ideas I came across the site http://www.parmarng.org/freeidaho. This site is run by an innovative guy named Ken Reed who gave me permission to link to his site and allows anyone to use his free plans for non commercial use. This is where I found what would become the best target stands I've used to date. They are cheaper than commercial options and durable. In fact, I am still using some of the originals I built years ago, they have faded a bit in the harsh desert sun but still work perfectly.
What you will need:
- 2" diameter PVC pipe (5' should make one target stand)
- Four 2" PVC T's
- A box of #8 x 1/2" screws
- Hacksaw (If you are lazy like me you'll get a big ratcheting PVC cutter but it adds to the overall cost)
- Drill
- Screwdriver
- Two 1"x2" strips of wood. (I elected to use 2"x2" furring strips instead and I'll explain later)
- Wood saw
Instructions: (I take no responsibility for your handyman or woman skills, use tools and build stuff at your own risk!)
- Go here and click on "PVC Target Stands" on the left side, then click "Plans" in the middle of that page for a schematic in PDF form.
- Start cutting! You will need 4 equal lengths at 7 1/2" to 9 1/2" depending on how long you want your feet to be.
- Cut the middle section, this is what decides how far apart the feet will be, and therefore how far apart the wood strips your target attaches to will be. You will want it to be 13" long if you plan on stapling official IDPA targets directly to the wood. I cut mine at around 20" so I could staple cardboard to the wood and then large paper targets to that.
- Cut four pieces of PVC at around 4" each (2 pieces if using the 2"x2" furring strips). This is what will join the T's for the feet to the T's that hold the strips of wood and the middle length of pipe. Use the pictures below, I promise it is super easy.
- Press fit all the parts together
- Drill several pilot holes with a small drill bit in each section that attaches to another. I leave the middle length pipe un drilled/screwed so I can pull it apart for for compact storage and transport.
- Screw in the #8 x 1/2" screws into every hole you just drilled.
- Almost done! Now just cut the furring strips to the desired length, they come in 8ft sections so I usually lop off two or three feet.

This shows you the parts involved and how it looks assembled

Screws, feet sections, and the smaller lengths that join the T's
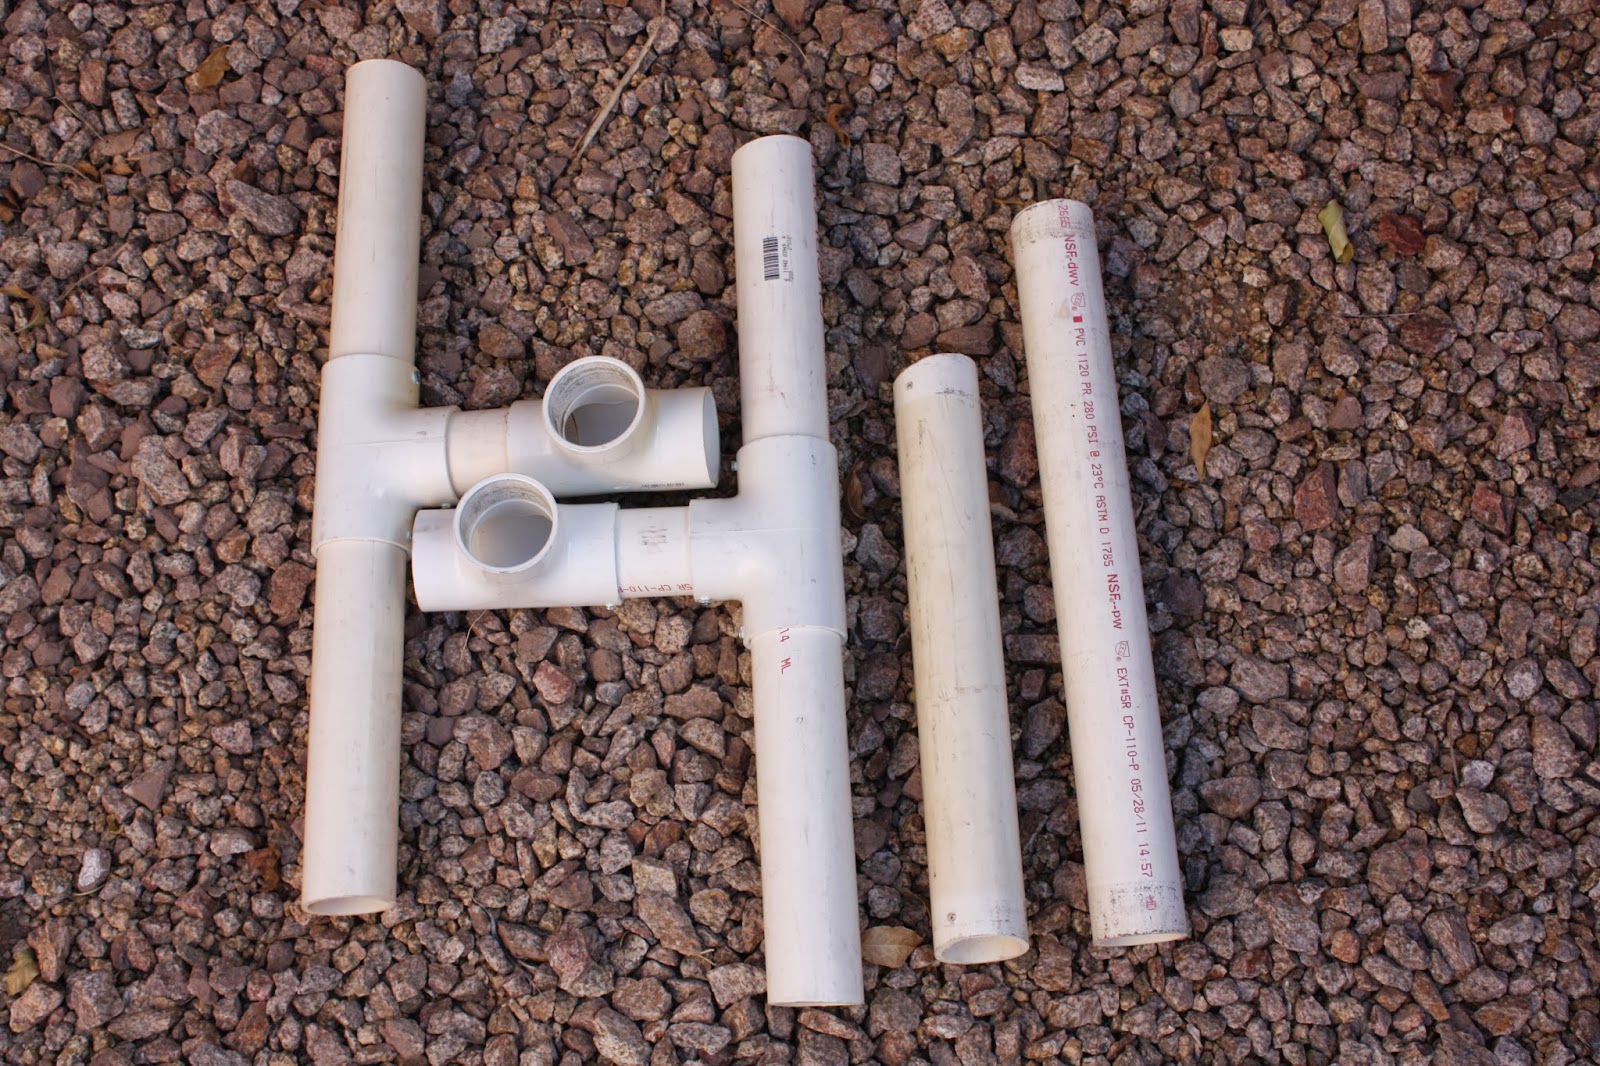
Breaks down, two different length middle sections for different target setups

Take me shooting!
Ok so there you have it, pretty simple right? Spend more money on ammo and less time setting up to train with these stands. They have certainly made shooting more enjoyable for me and my family.
No comments:
Post a Comment